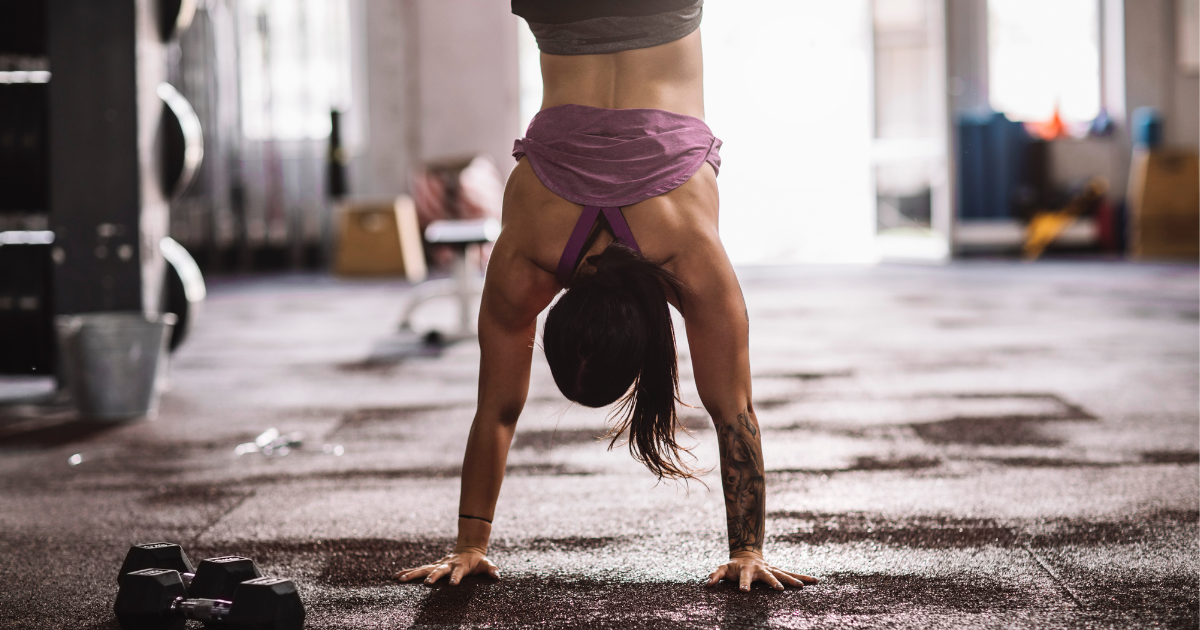
Handstands are a fundamental skill in gymnastics, yoga, and various fitness disciplines. Mastering a handstand without the aid of a wall can be challenging but rewarding. Here’s a step-by-step guide to help beginners achieve a freestanding handstand.
1. Build Strength and Flexibility
Before attempting a handstand, it’s essential to have a solid foundation of strength and flexibility.
- Core Strength: A strong core helps maintain balance. Incorporate exercises like planks, hollow body holds, and leg lifts into your routine.
- Shoulder Strength: Strong shoulders are crucial for supporting your body weight. Push-ups, shoulder taps, and pike push-ups are effective exercises.
- Wrist Flexibility and Strength: Stretch your wrists before and after practice. Wrist circles and weight-bearing exercises, like wrist push-ups, are beneficial.
- Hamstring Flexibility: Flexible hamstrings make it easier to kick up into a handstand. Perform stretches like forward bends and standing pike stretches.
2. Practice the Kick-Up
The kick-up is the motion that gets you into a handstand.
- Start in a Lunge Position: Begin with your dominant leg in front and your hands placed shoulder-width apart on the ground.
- Kick-Up Motion: Push off your back leg while swinging your front leg up and over. Keep your arms straight and your gaze between your hands.
- Controlled Movement: Practice small hops to build confidence and control. Gradually increase the height of your kick.
3. Focus on Alignment
Proper alignment is key to holding a handstand.
- Straight Arms: Keep your arms locked out to support your body weight.
- Engage Your Core: Tighten your abdominal muscles to stabilize your body.
- Hollow Body Position: Maintain a slight hollow body position by tucking your pelvis under and squeezing your glutes.
- Pointed Toes: Extend your legs and point your toes for balance and aesthetics.
4. Balance Techniques
Balancing in a handstand without a wall requires practice and patience.
- Finger Pressure: Use your fingers to make small adjustments. Press your fingertips into the ground to counteract any forward or backward motion.
- Micro Adjustments: Make tiny adjustments with your wrists and shoulders to maintain balance.
- Spotting and Falling Safely: Practice falling out of a handstand safely by performing a forward roll or stepping down with control.
5. Progressive Drills
Incorporate drills to gradually build your freestanding handstand.
- Handstand Holds: Practice holding a handstand against a wall to build endurance. Start with your stomach facing the wall, then progress to your back facing the wall.
- Tuck Handstand: Kick up into a handstand and bring your knees to your chest. This helps improve balance and control.
- Straddle Handstand: Kick up into a handstand with your legs in a straddle position. This provides a wider base of support.
6. Consistency and Patience
Achieving a freestanding handstand takes time and consistent practice.
- Daily Practice: Incorporate handstand practice into your daily routine. Even a few minutes a day can lead to significant progress.
- Rest and Recovery: Allow your muscles to recover by taking rest days and listening to your body.
- Celebrate Small Wins: Acknowledge and celebrate your progress, no matter how small. Each step forward is a success.
Conclusion
Learning to do a handstand without a wall is a journey that requires strength, balance, and determination. By building a strong foundation, practicing proper alignment, and incorporating progressive drills, you can achieve a freestanding handstand. Remember to be patient with yourself and enjoy the process of mastering this impressive skill. Happy handstanding!


