Learning how to do a handstand at home is all about practicing safely and consistently. Begin with a good warm-up to loosen your muscles and prevent injuries. Use a soft surface like a yoga mat to practice on, and start with handstands against a wall for support. Strengthen your arms, shoulders, and core with exercises like push-ups and planks to build the necessary strength. Progress gradually to practicing freestanding handstands once you feel confident. Remember to take it slow, listen to your body, and enjoy the process of improving your balance and strength!
Here’s a step-by-step guide to help you get started how to do a handstand at home:
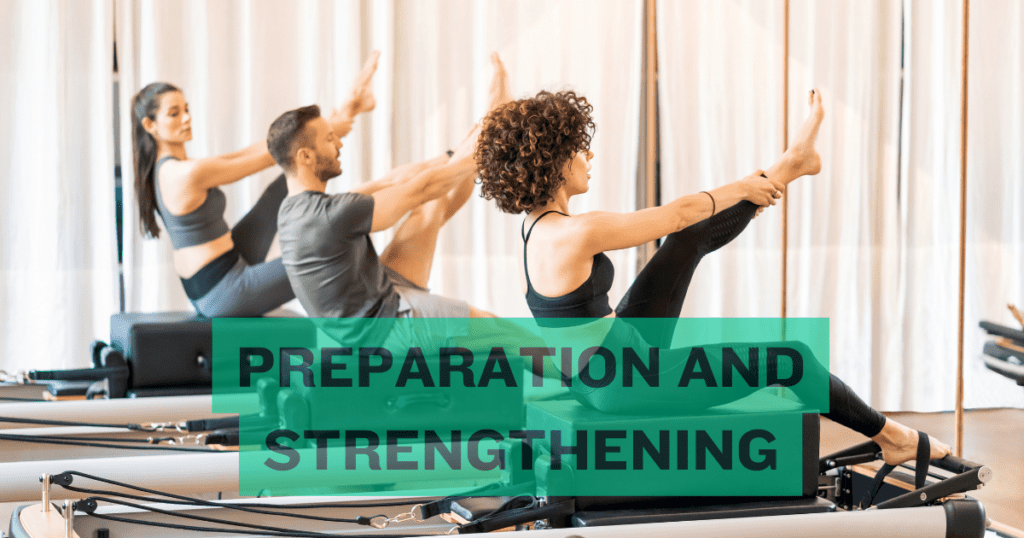
1. Preparation and Strengthening for doing a Handstand at home:

To successfully learn, how do a handstand, preparation and strengthening are essential. Here’s how to get ready:
-
Warm-Up:
Begin with a thorough warm-up to loosen your muscles. Perform dynamic stretches, arm circles, and light cardio to get your blood flowing and reduce the risk of injury.
-
Stretching:
Focus on stretching your wrists, shoulders, and hamstrings. Wrist stretches can include gentle wrist flexion and extension.
Shoulder stretches like arm crossovers and overhead stretches will help improve flexibility.
Hamstring stretches, such as toe touches, will aid in maintaining a straight line during your handstand.
-
Strength Exercises:
Building strength is crucial for holding a handstand. Incorporate the following exercises into your routine:
-
Push-Ups:
Strengthen your shoulders, chest, and arms.
-
Planks:
Enhance your core stability.
-
Shoulder Taps:
Improve your shoulder strength and balance.
-
Wall Walks:
Walk your feet up the wall while maintaining a plank position to build shoulder and core strength.
-
Balance Drills:
Practice balance drills to get comfortable being upside down. Start with wall-assisted handstands, gradually moving away from the wall as you gain confidence.
Use exercises like hollow body holds and donkey kicks to improve your balance.
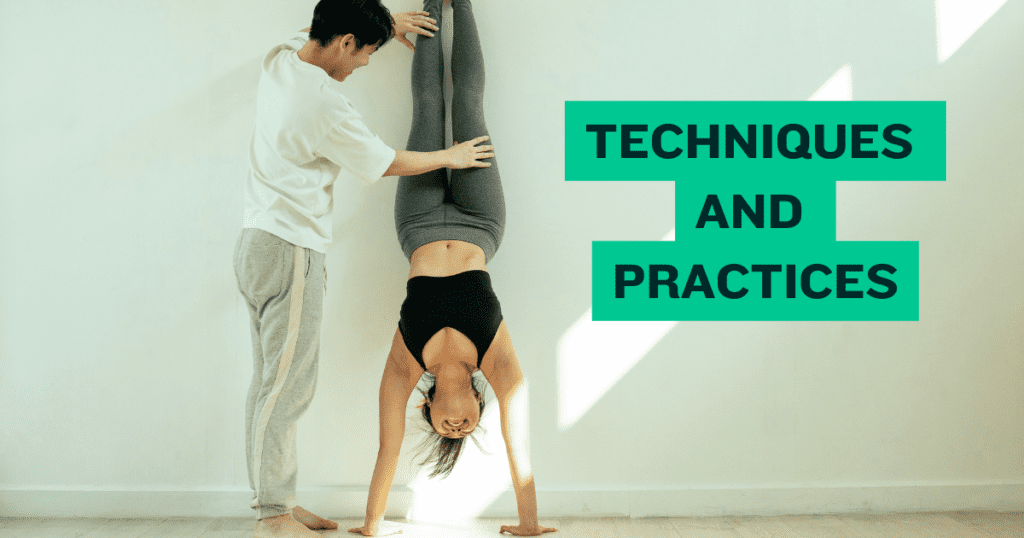
2. Techniques and Practices:

Getting really good at how to do a handstand means practicing a lot and getting better at how you do it. Here’s how to do it:
(i) Proper Hand Placement:
- Place your hands shoulder-width apart on the ground.
- Spread your fingers wide for better balance and grip.
- Distribute your weight evenly across your palms and fingers.
(ii) Kick-Up Practice:
- Stand a few feet away from a wall, facing it.
- Place your hands on the ground, shoulder-width apart.
- Kick one leg up towards the wall, followed by the other, letting the wall support your feet.
- Practice this motion until you feel comfortable and controlled.
(iii) Body Alignment:
- Keep your body straight, with your head in a neutral position looking at the ground between your hands.
- Engage your core to maintain a straight line from your hands to your toes.
- Squeeze your legs together and point your toes.
(iv) Balancing Without the Wall:
- Once you’re comfortable with wall-assisted handstands, try balancing without the wall.
- Practice kicking up into a handstand and holding the position for a few seconds.
- Use a spotter or practice on a soft surface to reduce the risk of injury.
3. Handstand Practice Routine

Follow this structured practice routine to build your handstand skills gradually and effectively:
(i) Warm-Up (5-10 minutes)
General Warm-Up:
-
- Jumping jacks or jogging in place (2-3 minutes)
- Arm circles and shoulder rolls (1-2 minutes)
Specific Warm-Up:
-
- Wrist stretches: Gentle flexion and extension, wrist circles (1-2 minutes)
- Shoulder stretches: Arm crossovers, overhead stretches (1-2 minutes)
- Hamstring stretches: Toe touches, forward bends (1-2 minutes)
(ii) Strength and Conditioning (10-15 minutes)
Push-Ups:
3 sets of 10-15 reps to build shoulder and arm strength.
Planks:
Hold for 30-60 seconds, 3 sets to strengthen the core.
Shoulder Taps:
3 sets of 10-15 taps on each side to improve shoulder stability and balance.
Wall Walks:
3 sets of walking feet up the wall and back down to enhance shoulder and core strength.
(iii) Handstand Technique Practice (15-20 minutes)
Wall-Assisted Handstands:
Kick up against the wall and hold for 10-20 seconds, 3-5 reps. Focus on form and body alignment.
Freestanding Kick-Ups:
Practice kicking up into a handstand away from the wall. Hold for as long as possible, 5-10 attempts. Use a soft surface or spotter for safety.
Balance Drills:
Handstand holds against the wall with minimal contact (fingertips barely touching the wall), 3-5 reps of 10-20 seconds each.
Practice shifting weight slightly from hand to hand to improve balance control.
(iv) Cool Down (5-10 minutes)
Stretching:
Gentle wrist, shoulder, and hamstring stretches to relax the muscles.
Deep Breathing:
Practice deep breathing exercises to calm the body and mind after your practice.
4. Tips for Success to learn how to do a handstand at home:
Here are some key tips to help you succeed in mastering how to do a handstand at home:
Start with the Basics:
Don’t rush the process. Master the basics like wrist stretches, core exercises, and wall-assisted handstands before moving on to more advanced techniques.
Focus on Form:
Maintain a straight body line from your hands to your toes. Engage your core, squeeze your legs together, and keep your head in a neutral position.
Use the Wall:
Practice against a wall to build confidence and strength. Kick up into a handstand with your feet touching the wall, then try to balance without it.
Strengthen Your Core:
A strong core is essential for holding a handstand. Incorporate exercises like planks, hollow body holds, and leg raises into your routine.
Spread Your Fingers:
Spread your fingers wide on the ground to create a stable base and help with balance. Distribute your weight evenly across your palms and fingers.
Keep Practicing:
Consistency is key. Practice handstands regularly, even if it’s just for a few minutes each day. Gradual improvement comes with time and dedication.
Use a Spotter:
If possible, have a friend or family member assist you when practicing. They can help you balance and provide support if you start to fall.
Stay Calm and Breathe:
Stay relaxed and remember to breathe. Tension can make balancing harder, so keep your body as calm as possible.
Visualize Success:
Visualization can be a powerful tool. Picture yourself successfully holding a handstand to build confidence and mental preparedness.
Embrace the Falls:
Falling is part of the learning process. Learn to fall safely by tucking your head and rolling out of the handstand. Each fall is a step closer to mastering the skill.
By following these tips and staying committed to your practice, you’ll improve your handstand technique and build the strength and confidence needed to perform handstands successfully at home.
5. Safety Precautions:

Practicing how to do a handstand can be safe and enjoyable if you follow these essential safety precautions:
Warm-Up Properly:
- Always start with a thorough warm-up to prepare your muscles and joints. This helps prevent injuries and ensures your body is ready for the exercise.
Choose a Safe Space:
- Practice in an open area with plenty of room around you. Avoid places with furniture, sharp objects, or hard surfaces.
- Use a soft surface like a yoga mat, carpet, or grass to cushion any falls.
Use a Wall for Support:
- Start with wall-assisted handstands to build confidence and strength. The wall provides a safe way to practice without the risk of falling over.
Have a Spotter:
- If possible, practice with a friend or family member who can help you balance and catch you if you fall.
Learn to Fall Safely:
- Practice safe falling techniques, such as tucking your head and rolling out of the handstand. This helps you avoid injuries if you lose balance.
Avoid Overtraining:
- Don’t push your body too hard. Overtraining can lead to fatigue and increase the risk of injury. Listen to your body and take breaks when needed.
Focus on Form:
- Pay attention to your body alignment and technique. Proper form reduces the risk of strain and helps you balance more effectively.
Be Mindful of Your Wrists:
- Handstands put a lot of pressure on your wrists. Do wrist stretches and strengthen your wrists with exercises like wrist curls and extensions.
Gradual Progression:
- Progress slowly from wall-assisted to freestanding handstands. Rushing the process can lead to injuries.
Stay Calm and Breathe:
- Keep your body relaxed and breathe steadily. Tension can make balancing harder and increase the risk of falls.
Avoid Practicing When Tired:
- Don’t attempt handstands when you’re fatigued or not feeling well. Your balance and coordination are impaired when you’re tired.
Wear Appropriate Clothing:
- Wear comfortable, form-fitting clothes that allow for free movement. Avoid loose clothing that can get in the way or cause distractions.
By following these safety precautions, you can reduce the risk of injury and enjoy your handstand practice with confidence. Remember, safety first!
Conclusion
Mastering a handstand at home is a rewarding journey that combines strength, balance, and perseverance. By following a structured approach that includes proper preparation, strengthening exercises, and consistent practice, you can gradually build the skills needed to perform a handstand with confidence.
Remember to start with a thorough warm-up and choose a safe practice space. Use the wall for support as you get comfortable with the movement, and gradually work towards freestanding handstands. Consistency is key, so make handstand practice a regular part of your routine, while also ensuring you take necessary safety precautions to prevent injuries.
With patience and dedication, you’ll not only improve your physical fitness but also gain a sense of accomplishment and joy from mastering this impressive skill. Keep practicing, stay safe, and enjoy the journey to becoming a handstand pro!


