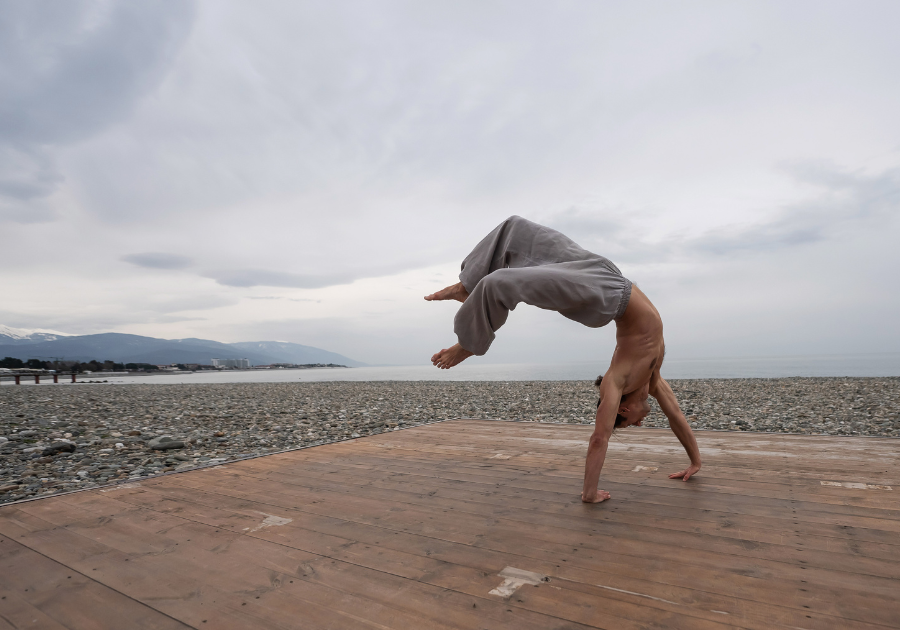
Mastering the handstand backflip is a thrilling milestone for any gymnast. This move combines strength, flexibility, and precision, and executing it flawlessly can be immensely satisfying. Here’s a step-by-step guide to help you learn this impressive skill safely and effectively.
Step-by-Step Guide
1. Warm-Up: Before attempting any advanced gymnastics move, it’s crucial to warm up your body. Focus on stretching your wrists, shoulders, back, and legs. Incorporate dynamic stretches and a light cardio workout to get your blood flowing.
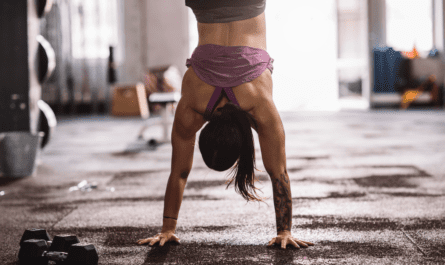
2. Master the Handstand: The foundation of a handstand backflip is a solid handstand. Practice holding a handstand against a wall before moving to freestanding handstands. Ensure your body is aligned, with your arms straight and your core engaged.
3. Strengthen Your Core and Shoulders: A strong core and shoulders are essential for stability and control. Incorporate exercises like planks, hollow body holds, and shoulder taps into your routine.
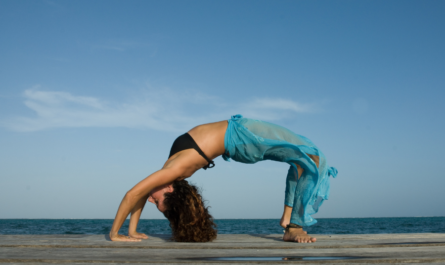
4. Practice the Backbend: From a handstand, you need to be comfortable transitioning into a backbend. Start by practicing backbends from a standing position, then from a handstand against a wall, gradually moving to freestanding.
5. Develop the Kickover: Once in a backbend, practice the kickover. Push off with your dominant leg while keeping your other leg straight. Use your core and shoulders to control the motion.
6. Combine the Elements: Begin by practicing handstand backbends and kickovers separately. Once you’re confident, combine them. Kick up into a handstand, control the descent into a backbend, and then kick over.
7. Get Comfortable with the Backflip Motion: To transition from a handstand to a backflip, you need to generate momentum. Practice on a trampoline or with a spotter. Start by combining a handstand push into a tuck position, then use your core to flip.
8. Put It All Together: When you’re ready, combine the handstand, backbend, kickover, and backflip. Practice with a spotter and on a soft surface like a gymnastics mat. Focus on controlled movements and maintaining form throughout.
Safety Tips
- Always Warm Up: A thorough warm-up reduces the risk of injury.
- Use a Spotter: Especially when first attempting the backflip, a spotter can provide guidance and ensure safety.
- Practice on Soft Surfaces: Use gymnastics mats or a trampoline to cushion falls.
- Take It Slow: Progress at your own pace. Rushing can lead to injury.
Frequently Asked Questions
Q1: How long does it take to learn a handstand backflip? A: The time it takes varies depending on your current skill level and how often you practice. On average, it may take several months of consistent training.
Q2: Do I need to be flexible to do a handstand backflip? A: Flexibility, especially in your back and shoulders, is crucial. Incorporate regular stretching into your routine to improve flexibility.
Q3: Can I learn a handstand backflip at home? A: While some aspects can be practiced at home, it’s safer to learn under the supervision of a coach or in a gym with proper equipment.
Q4: What if I’m scared of falling? A: Fear is natural. Start with basics and progress gradually. Using a spotter and practicing on soft surfaces can help build confidence.
Q5: How do I avoid injuries? A: Proper warm-up, gradual progression, using a spotter, and practicing on soft surfaces are key to preventing injuries.
By following these steps and practicing diligently, you can master the handstand backflip. Remember, consistency and safety are crucial. Enjoy the journey and celebrate your progress along the way!


