Introduction
Learning how to do a handstand is an exciting challenge for kids! It builds strength, balance, and confidence. Here’s a step-by-step guide to help kids master the handstand in a fun and safe way.
Step 1: Warm Up
Before trying a handstand, it’s important to warm up. This helps prevent injuries and gets the muscles ready for action.
- Stretch Your Wrists and Shoulders: Circle your wrists, stretch your arms overhead, and do some gentle shoulder rolls.
- Activate Your Core: Do a few planks or sit-ups to engage your core muscles.
- Jump Around: Do some jumping jacks or a light jog to get your heart rate up.
Step 2: Find a Safe Space
Choose a spot with plenty of room and a soft surface. Grass, a gymnastics mat, or carpet works well. Make sure there’s nothing nearby that you could bump into.
Step 3: Practice the L-Shape
- Stand Facing a Wall: Place your hands on the ground about a foot away from the wall.
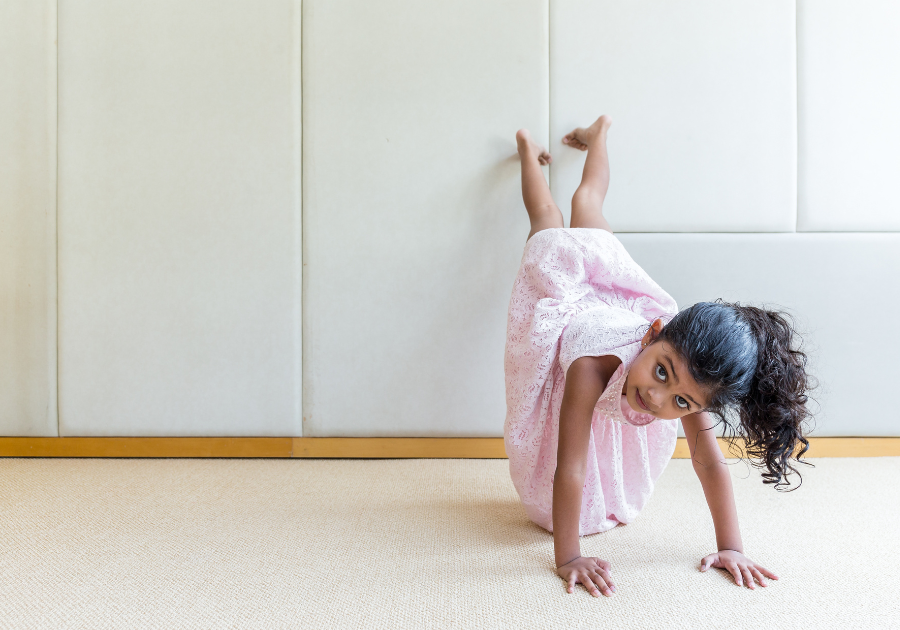
- Walk Your Feet Up: Slowly walk your feet up the wall until your body forms an L-shape.
- Hold and Balance: Keep your arms straight and your core tight. Hold this position for as long as you can.
Step 4: Bunny Hops
- Start in a Squat: Squat down with your hands on the ground in front of you.
- Jump and Lift Your Feet: Push off with your feet, lifting them off the ground for a moment.
- Land Softly: Try to land softly back into your squat. Repeat several times.
Step 5: Tuck Handstand
- Begin in a Squat: Squat down with your hands on the ground, just like in the bunny hops.
- Kick Up: Push off with your feet, bringing your knees towards your chest. Try to lift your hips over your shoulders.
- Balance and Return: Balance for a moment and then return to your squat. Practice until you feel comfortable.
Step 6: Full Handstand Against a Wall
- Face Away from the Wall: Stand with your back to the wall.
- Place Your Hands on the Ground: About a foot away from the wall.
- Kick Up: Lift one leg at a time, kicking up until your feet touch the wall.
- Hold the Position: Keep your body straight and your core tight. Hold for a few seconds before coming down.
Step 7: Freestanding Handstand
- Start with a Lunge: Place your dominant leg in front, and your hands on the ground.
- Kick Up Gently: Kick your back leg up, followed by your front leg, aiming to bring your legs together overhead.
- Balance and Control: Try to hold the handstand, using your fingers and hands to balance. If you start to fall, tuck and roll safely to the side.
Step 8: Practice and Patience
Learning a handstand takes time and practice. Encourage kids to practice regularly but never for too long in one session to avoid getting too tired.
Safety Tips
- Always use a soft surface when practicing.
- Have a spotter or coach nearby if possible.
- Never rush the process; progress at your own pace.
- If you feel pain, stop and rest.
Conclusion
Doing a handstand is a fun and rewarding skill for kids to learn. With patience, practice, and these simple steps, kids can master the handstand and enjoy all the benefits it brings. Happy handstanding!


